The Akai MPC 2000xl remains a legendary centerpiece in hip-hop production, but working with legacy storage formats like 3.5-inch floppy disks or unreliable internal Zip drives can completely stall your modern creative workflow.
Upgrading your sampler to an internal flash memory card reader is the absolute best way to bring your machine up to speed, providing lightning-fast load times and seamless file management between your vintage hardware and modern computer systems.

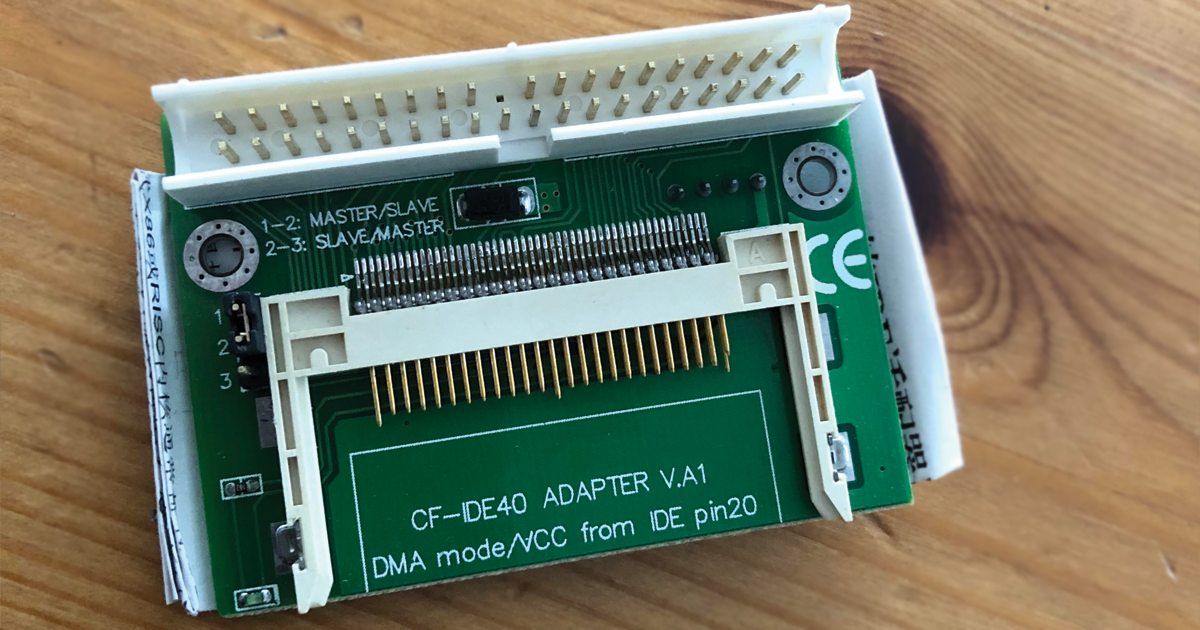
Compact Flash to IDE adapter
Before you crack open your chassis, make sure you have the necessary parts, prerequisites, and instructions prepared. Let's break down exactly what you need and look at the step-by-step installation blueprint.
⚠️ CRITICAL PREREQUISITE: Your MPC 2000xl must be running Operating System Version 1.20 for flash card readers to be recognized cleanly. To check your current OS, hold down SHIFT and press 8, then hit F3. If your screen displays version 1.14 or lower, you must download the 1.20 OS bin file and update your machine using a temporary floppy drive or Zip disk before performing this hardware modification.
Required Hardware & Tools
- Internal ATAPI/IDE CF Card Reader Kit (Non-hot swappable units like the standard Multi-Card MCD kit require turning off the MPC before pulling the card).
- Standard Phillips Screwdriver
- Small Needle-Nose Pliers or Wire Cutters (For cutting old internal cable ties).
- 1GB Compact Flash Card (While larger capacity cards can be physically inserted, the MPC 2000xl architecture will automatically format and down-partition the media storage capacity to exactly 1GB/1024MB max).
Step-by-Step Installation Guide
Completely unplug the power cable from your sampler. Remove the two exterior mounting screws from the left side and the right side of the front tilt panel, flip the unit over safely on a soft surface, and remove the bottom case enclosure screws to fully expose the interior motherboard paths.
Locate the factory 3.5" floppy disk drive assembly. Carefully pull back and disconnect the wide internal flat ribbon data cable and the small white power lead connector block. Use wire cutters to snip any old zip ties holding the factory wiring harness in place.
Secure your replacement card reader unit into the open front bay slot using the integrated bottom mounting holes. Connect your new ATAPI data ribbon and power connector. Ensure the red power stripe line aligns precisely toward the right-hand edge of the board orientation during connection pin seating.
Before completely fastening the outer steel backshell pieces down, plug in the power cord for a quick boot diagnostic test. Power on the machine and navigate into your global device settings screen—if installed successfully, your main menu device field will now read "ATAPI" instead of the old "Floppy" title designation.
Alternative Storage Upgrade: Internal SCSI to SD
If you prefer using standard SD or MicroSD cards instead of old-school bulky Compact Flash cards, an internal SCSI2SD (v5 or v6) or ZuluSCSI emulator board is an excellent modern solution. These boards connect directly to the internal 50-pin SCSI header array inside your sampler instead of utilizing the ATAPI/IDE ribbon line, allowing you to access ultra-fast data handling speeds and setup multiple 1GB virtual drive partitions simultaneously across a single SD card profile.
If you follow this - you'll have a faster loading MPC in no time at all!
If you've found this post helpful, drop a comment below!
Now that your storage layout is modernized, stack your media with pristine sounds.
Browse the official store for custom-engineered drum kits, loops, and Sample Packs.
Browse SF TRAXX Sound Kits
No comments
Post a Comment